It goes quicker than you think!
When you start as a Sunday school teacher, you may have a great lesson, fun game or a good craft, but when you have a classroom full of busy little ones, the most common question that arises is simply, NOW WHAT?
At first, especially to my introvert friends out there (sorry I brought the spotlight onto you! hahaha), an hour might seem like FOREVER to entertain a group of bouncy, impatient kiddos. To my extrovert, talkers (heyyyyy!!!!!) – an hour might seem like no time at all!
Either way, it is good to have a plan of attack as far as how you’re going to organize each section of your lesson time. I recommend setting up a step-by-step plan complete with a timetable. This will help you, as a teacher, firstly feel prepared and confident knowing how much time you have and how you’re going to spend it. The less flustered and spur-of-the-moment you are as a teacher, the more confident and settled your kiddos will be too.
The other benefit of having a step-by-step plan is that this will eliminate you looking around to fill “extra” time which often leads to chaos and anarchy, OR it may help you keep better track of your time so that you’re not spending too much time on one thing or another which usually results in bored kids who start finding other ways to entertain themselves (in my experience, bored kids become VERY creative VERY fast!).
Below, I will outline my favorite class time order and timetables which I have found best keep kiddos attention no matter the age!
You can download this free printable template to create your own, too!
Remember, a child’s attention span is usually as many minutes as years they are old. Meaning, if you’ve got a five-year-old, their attention span is about 5 minutes, so it’s good to keep things moving! Write up that plan to make every single minute count!
- Introduction/Greeting (5 min.) (00:05)
Give a bright and enthusiastic greeting to each child who enters your classroom. Remember to call on everyone by name – everyone likes hearing their name.
Then, direct everyone to be seated.
Happily introduce your name (Don’t feel like it’s repetitive to do this each week – I once tutored a first grader every day for entire school year, and they still couldn’t remember my name! haha)
Finally, take attendance using a sticker chart! (Find free templates here.)
- Prayer Time (1 min.) (00:06)
Either pray yourself or give a volunteer a chance to say a prayer for the class!
- Song Time (5 min.) (00:11)
This is an effective way to get out some of those wiggle worms before lesson time starts. Really get into it! Pick favorite songs, have volunteers come to the front to help lead the singing, use hand motions, introduce instruments, or even add in some canned music if that’s something you like.
The important thing is to encourage loud, enthusiastic singing. Singing loudly together will make everyone feel confident and unified! Be prepared, though, children don’t always know what to sing or become shy when asked what their favorite songs are – be sure to have a quick-list written up before hand to help keep this time moving.
- Reminder of the Rules (1 min.) (00:12)
Now that we’ve gotten the wiggles out, direct your class to sit down and take on a calmer tone of voice to signal that now it is time to listen and pay attention. In each class that I have taught, I always have three simple rules which have motions to go along with them:
- Keep your eyes on me (Two fingers point to your eyes and then to the crowd)
- Keep your ears open to listen (Cup your hands behind your ears)
- Keep your hands to yourself (Place hands in your lap).
Find a variety of printable posters here featuring these rules that you can hang anywhere in your classroom for reference!
Encourage students to repeat after you! Repetition! Repetition! Repetition!
- Lesson Time (10-15 min.) (00:27)
You’re already half-way through!
(Keep a look out for some of my lessons that are already prepared and written out for you, complete with a memory verse and review questions which will be available for purchase and download soon!)
It’s always helpful to have a lesson either already written up word-for-word that you can read or an outline you can follow if you feel that you are a particularly good storyteller.
Remember, though, it is best not to just sit in a chair and tell a story or give a lesson. Stand up, move around, call on students, use visual aids like props and pictures! I once created a (terrible-looking) homemade wig using a headband and brown yarn and put on my head as I told the story of Samson – my students still talk about that lesson, and that was almost 7 years ago!
Anything you can do to connect practically to your students or make them laugh or create a memory will not only keep their attention but solidify that lesson or story in their memories!
- Stretch and Say the Memory Verse (5 min.) (00:32)
Kids of all ages love to stand up and stretch and move after a period of sitting! Have everyone mimic you as you take them through a quick stretch routine and change up the activity! (Sing a quick round of “Head and shoulders, knees, and toes” depending on the age group.)
Then, as everyone is standing, take that opportunity to review the memory verse – have them repeat after you or read it off a poster! This gives them time to talk after spending a lot of time listening.
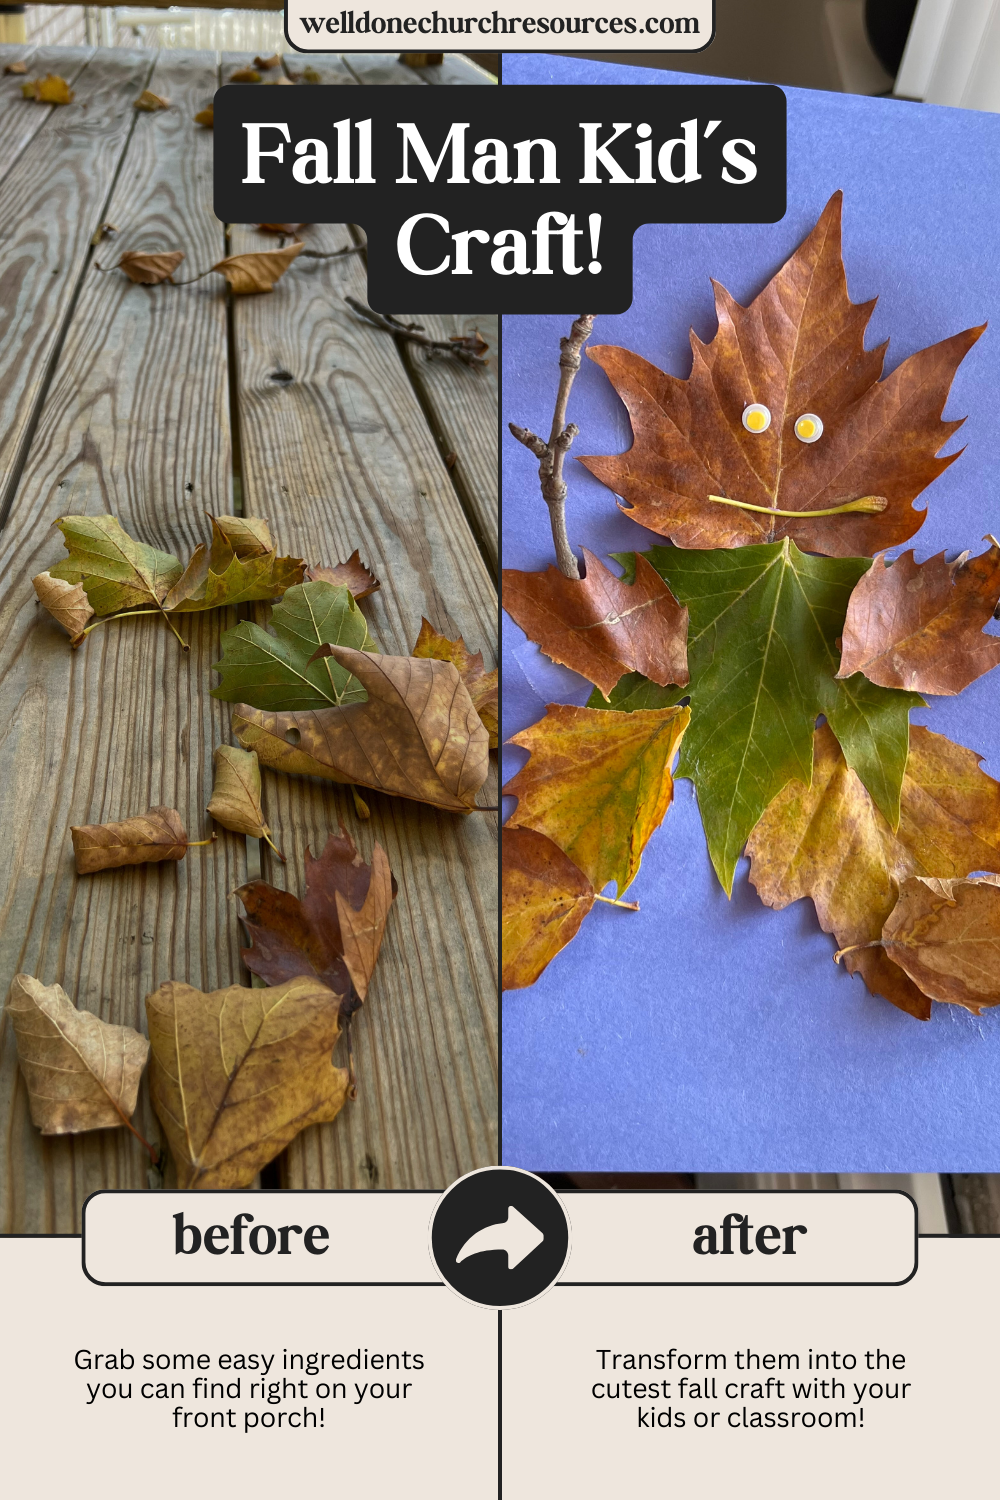
- Craft Time (10 min.) (00:42)
This can be as simple as a coloring page or as complicated as a puzzle! Whatever you choose to do, just make sure to make the most of your time by having the materials ready and organized ahead of time.
Here’s one idea of a build-a-dog craft using construction paper, scissors, and glue that is perfect for all ages!
- Memory Verse or Lesson Review Game – or both! (8 min.) (00:50)
Now that your beautiful creations are complete, stand up again and play a game which will help further create that connection and encourage memorization!
Here is one game idea for you to try right now!
- Discussion Time/Snack Time (10 min.) (01:00)
Your creativity can flourish in this last ten minutes – depending on the age group, I would definitely encourage an interactive activity that they don’t have to sit still for since class time is nearing the end. However, I also don’t encourage a rambunctious game or activity – those are best kept for the beginning or middle of class time since you don’t want them to leave class totally wired, sweaty, and chaotic for their parents to deal with! Haha
My favorite thing to do at the end of class is to serve a snack. Goldfish, animal crackers, cookies, snack-sized bags of chips are all great ideas – avoid chocolate at ALL costs haha it’s not worth the stained church clothes, messy fingers, and sugar-highs!
Anyway, everyone can sit down, enjoy some food, and simultaneously enjoy some talking time! You, as the teacher, can definitely steer conversation as you ask review questions from the lesson OR even just ask the students about their day, week, favorite colors, favorite foods, etc. This encourages friendships among students, gets them talking about themselves (which will even draw out your quiet kids most times), and help you to connect and build that relationship and trust which is so crucial between Sunday school teachers and students!
And, just like that, an hour is complete! Once the last child has left, you can now sit back and relax knowing you made the most of every single moment of an hour of class time!
Make sure to download your own Class Time Schedule, so you can start planning out your time right away. Find a few more designs of this same schedule or other classroom materials at our Free Shop!
And, be sure to comment and share how this schedule worked for you as well as all the fun stories and funny discussions you had with your kiddos below!


One response to “How to Fill An Hour of Sunday School Time”
[…] you read my latest post about How to Fill an Hour of Sunday School Time, you’ll see that one of the easiest ways to fill class time as well as solidify content in your […]