Toddler-Friendly. No Printer Needed. Perfect craft for a rainy day!
Now that we’re in October — those glorious, wet, fall days — I’m definitely finding that it’s getting harder and harder to occupy my toddler during the mornings.
So, just like all of us do, I began scrolling Pinterest for an activity I could do with my dog-obsessed toddler. I saw lots of build-an-animal style crafts, but most of them required the use of a printer (which I do not have at home).
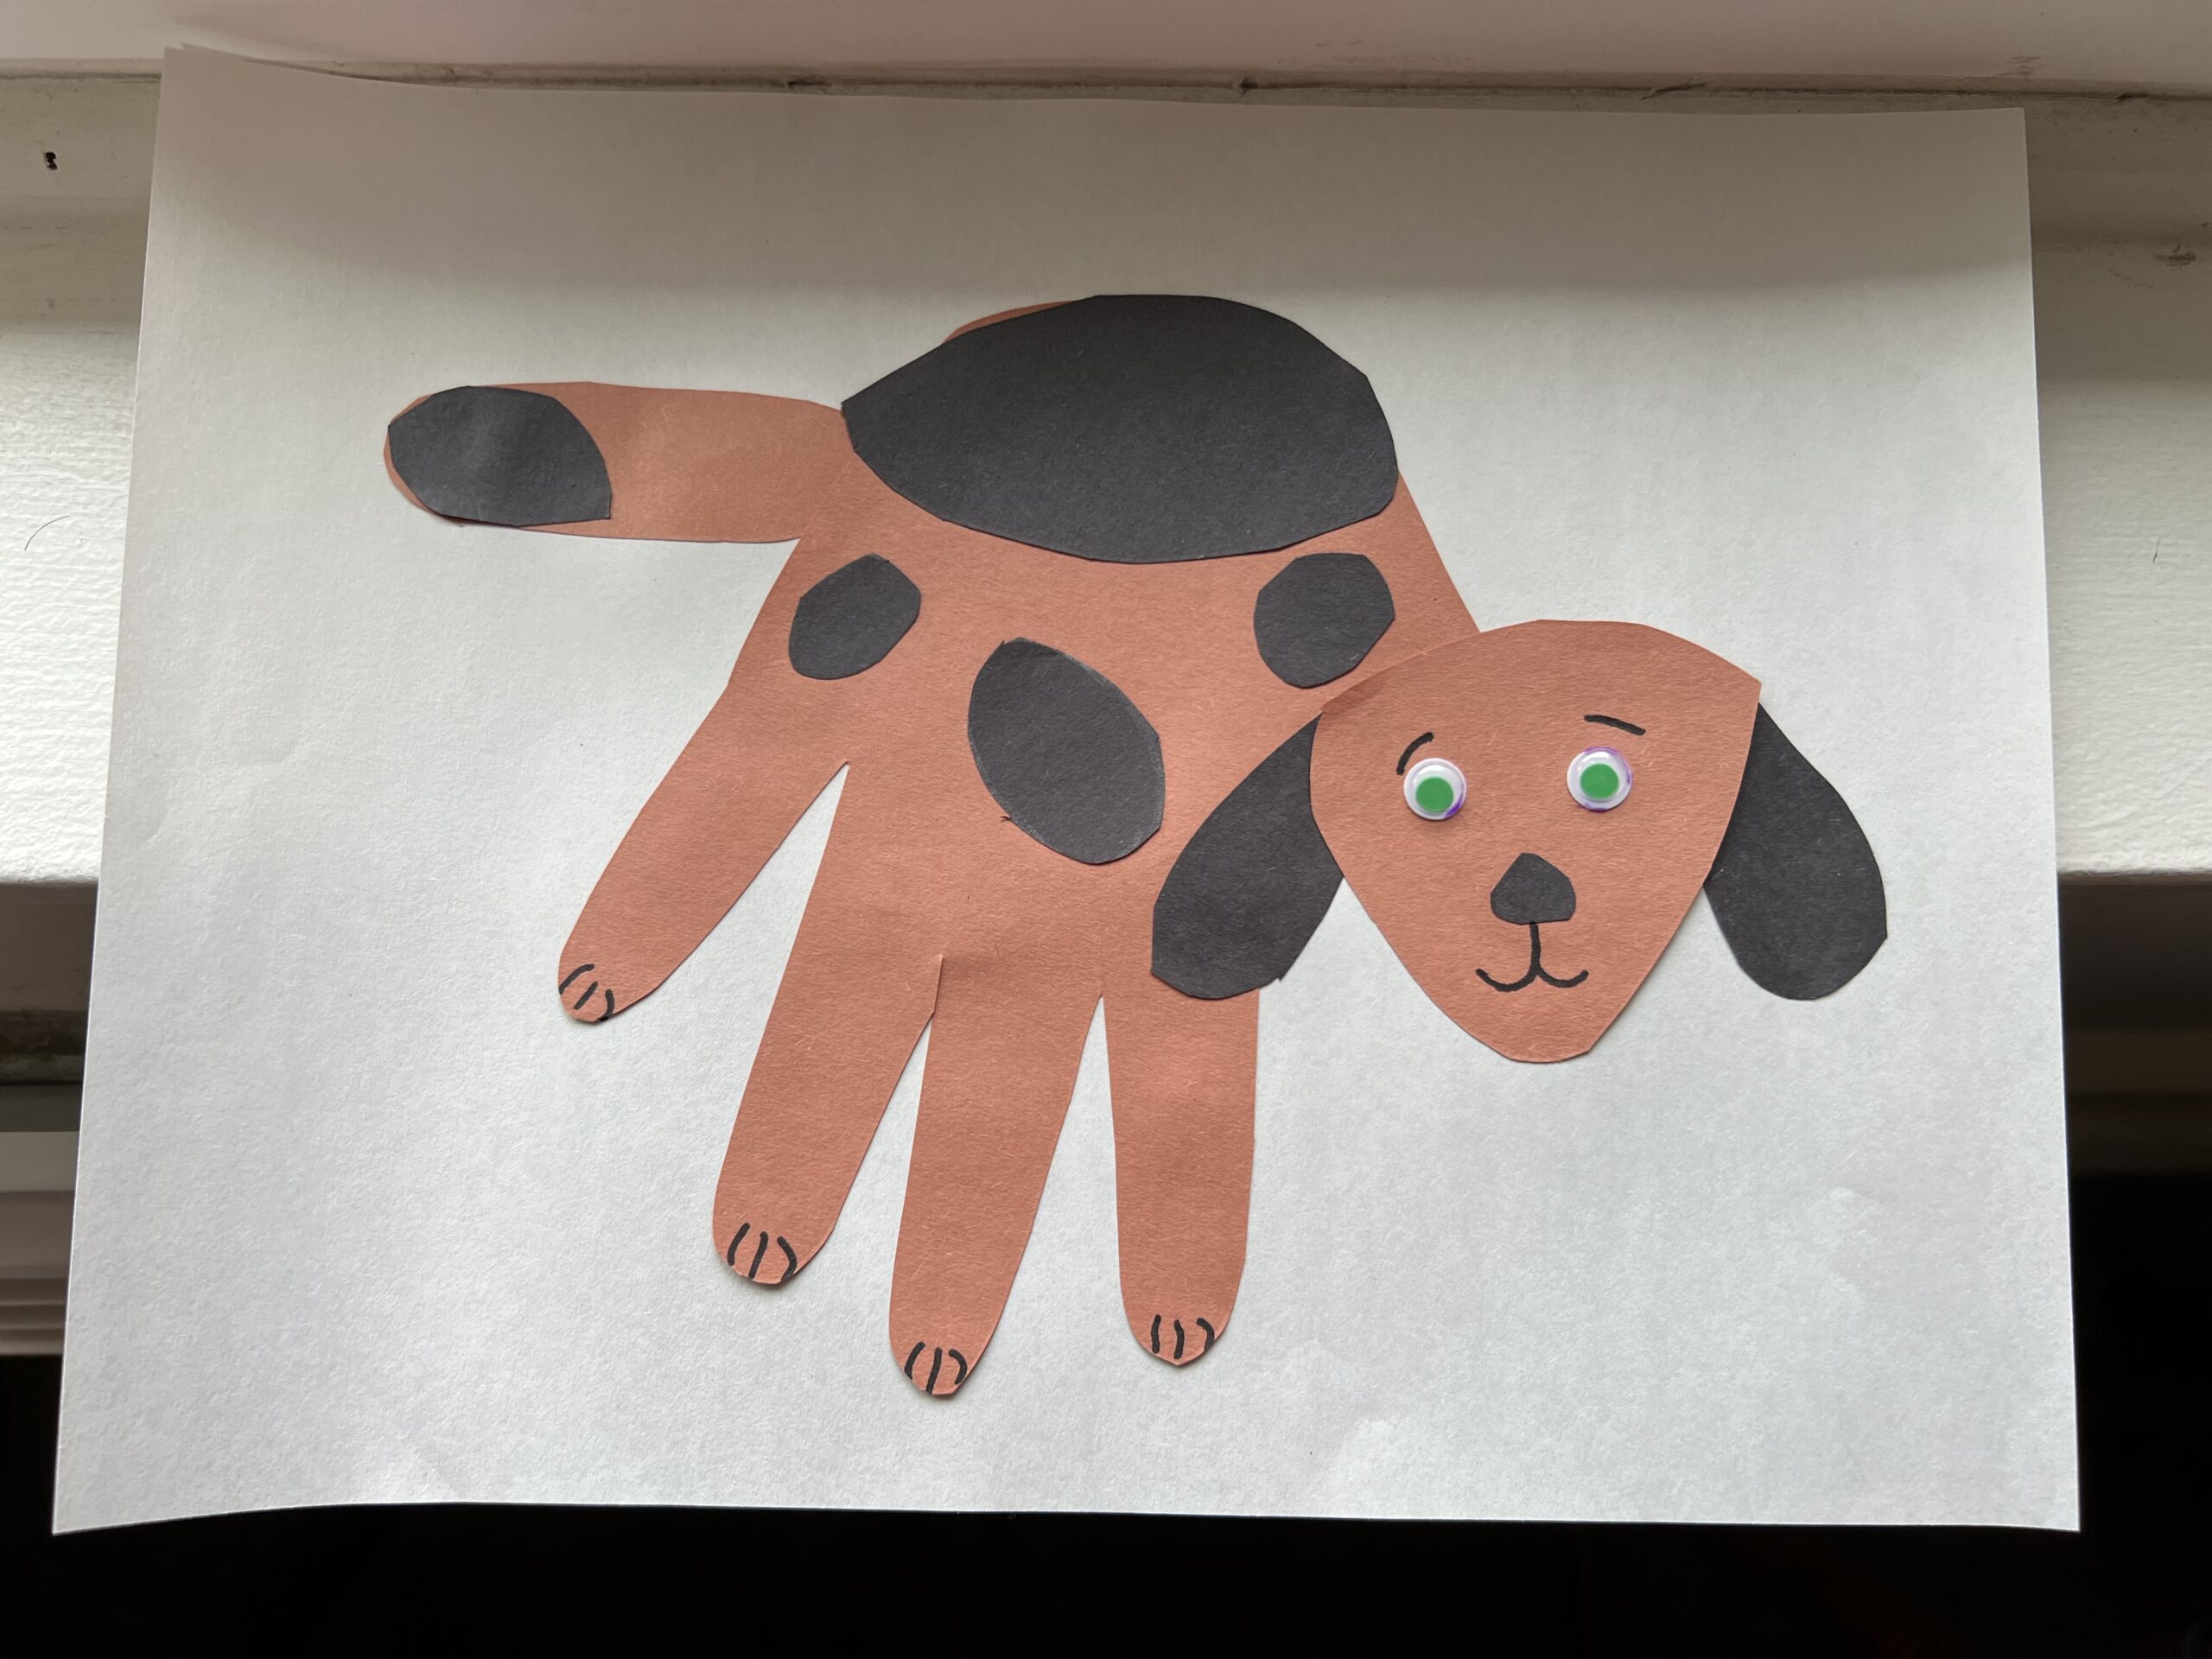
Until I stumbled upon this adorable build-a-dog craft that didn’t require a printer! All you need is some construction paper, scissors, glue, a sharpie marker (or crayons), and a little helper! 🙂
It came together in about 10 minutes (can definitely take longer or shorter depending on attention spans and how detailed/precise you want to get), and look how cute it is!!!

So, without further ado, here’s how to build your perfect little doggy!
What You’ll Need:
- Two sheets of construction paper (I chose brown and black, but you can choose any colors!)
- One sheet of white paper (or whatever color you want your background to be)
- Scissors
- Glue Stick
- Sharpie Marker (or any writing utensil. We used some crayons, too, but you could also use pencils or pens)
- Googly Eyes (optional)
- A little helper (hehe any age will do!)
What to Do:
Step 1: Trace and cut out a hand print. I chose to use my hand to make a bigger dog, but feel free to use your children’s hands, too. This will become the dog’s body and legs.

Step 2: Trace and cut out the head, spots, ears, and tail! On my next sheet of construction paper, I chose to cut out some different sized spots for my dogs body as well as a pinky-sized tail. They definitely don’t need to be a particular shape or size — just judge off the size of the hand print, and use the fingers and palm be your guide for sizing.

Step 3: Assemble the pieces and glue onto the background paper. Use this time to make any minor adjustments to size or shape that you might need.

Step 4: Add the details! Grab the sharpie marker, and add a mouth, paws, and a nose! You may also choose to glue on some googly-eyes for a silly touch 🙂

Step 5: All done! Now, you can stand back and admire your creation with your little helpers! This is a perfect craft to hang on a fridge, give as a gift, or make into a greeting card!

I hope you and your kids or class enjoy this craft as much as me and my toddler did! Let us know in the comments what you think and what other crafts you’d like to see in the future! Don’t forget to subscribe to our email, too, to stay up-to-date on lots of exciting new content!


One response to “Rainy Day Craft: Build-a-Dog in 5 Simple Steps!”
What a cute idea!!